ONE SOURCE INSTALLATION GUIDE
When undertaking any renovation (whether big or small), it’s important to employ the services of trustworthy trades that provide products, installation and advice to help make it run smoothly. We’ve put this resource together to help do just that. While we’re not builders ourselves, we have covered some important points that you need to review and consider throughout your installation.
FLOOR PREPARATION FOR HARD FLOORING
ENGINEERED TIMBER, HYBRID LAMINATE & VINYL PLANK
If you’re installing hard flooring in your home, your sub-floor may need to undergo some form of floor preparation prior to installation. This may include removing your existing floors (carpet, tiles etc), concrete grinding (performed with our floor grinders that are equipped with vacuum systems to minimise dust), applying moisture barriers if required, spot patch repairing areas of the substrate or a cementitious levelling compound throughout the entire area—all in preparation for your new flooring to be installed.
Our sales team will discuss general requirements during our measure and quoting stage, but cannot give an exact price. For jobs where we cannot see your sub-floor to determine what flooring preparation needs to be done, as well as the associated costs, this will be discussed with your Flooring Installer. For more information, we ask that you refer to our floor preparation page.
PREPARING YOUR HOME FOR NEW CARPET
CARPET REMOVAL
At One Source Flooring, we offer a carpet removal service (not just from the rooms, but your property too!). If you have opted to include carpet removal in your quote:
- Please have the areas clear and clean (unless furniture moving has been included and stated in your quote).
- If the existing carpet gripper requires replacement due to improper installation or water damage there may be a variation for replacement (see rates in your variation form).
If you have opted to not include removal of existing carpets within your One Source quote, you will need to ensure that:
- Existing carpet gripper is left down at the perimeter for installers to assess.
- The floor is left clean with all staples, adhesives etc. removed prior to installation.
FURNITURE & APPLIANCE REMOVAL
All furniture and appliances such as fridges, ovens, dishwashers, washing machines etc are required to be removed from all rooms prior to installation. We recommend hiring a removalist to assist with moving heavy furniture and appliances. If you do not remove furniture, appliances or personal items from rooms where your new carpet or flooring is being installed, you will be required to pay a furniture removal fee prior to installation.
PREPARING YOUR HOME FOR INSTALLATION - OUR CHECKLIST
Prior to installation, you are required to remove all furniture, appliances, personal and valuable items from all spaces including items on desks, in drawers, in wardrobes (i.e. shoes on the floor) etc. We recommend engaging a removalist to assist with heavy items and have made some recommendations below,
REMOVALIST RECOMMENDATIONS
FOR BEDROOMS: Have them relocate already-disassembled beds, mattresses, desks/dressers, toy boxes and empty drawers.
FOR DINING AREAS: Relocate dining tables (cleared of personal belongings), chairs, empty buffets and side tables.
FOR LIVING & MEDIA ROOMS: Relocate couches, billiard tables, fish tanks, empty side tables, coffee tables and tv cabinets.
FOR KITCHENS: Relocate fridges, ovens, dishwashers – anything that may interfere with your new flooring. Where required, please use a qualified tradesperson as removalists are unable to do this for you.
FOR LAUNDRIES: Relocate any items stored on the floor such as washers and dryers.
HOMEOWNER RECOMMENDATIONS
- Remove all personal and valuable items from the space including items on desks.
- Empty all cabinetry, drawers, bookshelves that need to be relocated prior to installation.
- Disassemble any beds that need to be moved.
- Remove clothing and shoes from wardrobes.
- Pick up any loose items and vacuum the floor.
- Hang/raise any lights or hanging items that may get in the way of our Installers.
- Raise or remove any curtains that touch the floor.
- Remove any doors that may interfere with your installation.
- Remove wall hangings and pictures to protect them from dust.
- Cover bench-tops, photos on walls, wall-mounted TVs, speakers etc with sheets or drop sheets to minimise dust/clean up (you’ll thank us later for this tip!).
- Close off other rooms.
- Prepare a space for our team to be able to carry in and store stock.
If you decided not to hire a removalist, you are required to complete all of the steps listed above, as well as the following:
- Relocate all furniture and appliances from spaces where new flooring will be installed. Ensure there is a clear path for our team to be able to carry your new flooring into the area.
- If you have removed your existing flooring yourself, please remove it from the space as well as any underlay.
Don't forget to make plans for your pets for the day as noise, unfamiliar faces and dust can be a bit stressful. We’d hate for them to slip out the front door while our team is walking in and out too. Or worse still, track through your brand new floor preparation. Any damage to floor prep caused by pets that needs to be replaced or repaired will be on-billed to the home owner.
INSTALLING FLOORS DURING A KITCHEN RENOVATION
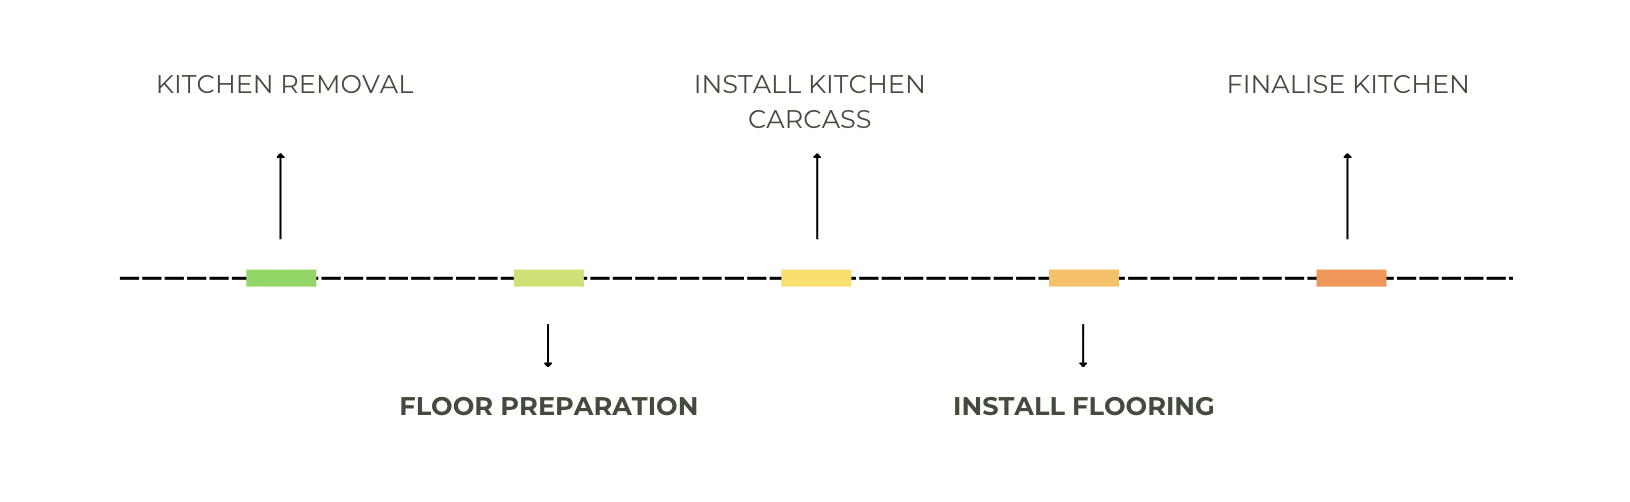
If you are installing a new kitchen as part of your renovation, you need to consider the order in which your kitchen is being installed in relation to your flooring. We strongly recommend working your flooring installation in with your kitchen.
For glue-down floors (vinyl and engineered timber) your floors need to be installed before your kitchen.
Alternatively an expansion join will be required around your kitchen if these stages aren’t met. Silicon beading cannot be installed around your kitchen post-installation.

POST-INSTALLATION GUIDE & CARING FOR YOUR NEW FLOORS
- Once your new flooring has been installed, we recommend that you inspect it thoroughly prior to returning your furniture to the room. If you have any concerns, please raise them with your Installer, or with our administration team as soon as possible.
- If the space is undergoing additional renovations, please ensure that the new floors are properly covered to avoid damage.
- Any damage made to the new flooring post-installation caused by renovations or changes within the home will void your 5 year installation guarantee.
- When returning your furniture, please ensure that the new flooring has been cleaned and is free from dirt. For heavy items, avoid dragging these on your new flooring. For ‘everyday items’ such as chairs, stools, desks etc, we recommend using ‘floor protectors’ to avoid scratches. Check these regularly and replace any loose or missing pads. We have these for sale in our Showroom.
- Review the instructions provided in your manufacturer’s Care & Maintenance Guide. Following their guidelines will help ensure that you maintain your manufacturer’s warranty. There are key things you should take note of including:
- How to Clean up Spills – Follow the cleaning instructions carefully. For carpet, do not rub stains and use the recommended cleaning products and methods.
- Which Vacuum Type to Use – Not all carpets can be cleaned using the brush bar setting. It is important that you check this before cleaning your new carpet. We have a great resource on choosing the right vacuum cleaner on our website.
- Mop Type – Not all hard flooring can be wet mopped. In some cases, the joins of the flooring may not be 100% waterproof. It is crucial that you understand the recommended cleaning method so as not to damage your new flooring.
- Heavy Furnishings – Placing heavy items such as pool tables is not recommended on top of floating floors (such as floated timber, hybrid and laminate).
FOR CARPET INSTALLATIONS – Indentations (or divots) are common and expected. A couple of great ways to minimise indentations is by placing furniture discs or left over carpet scraps under the legs of heavy furniture so to distribute the weight of it over a wider platform. We also recommend regularly shifting furniture a few inches one way or another so the pile can bounce back. The use of protector mats is crucial where castor or rolling chairs are used. There are some other great tips on this website.
To revive flattened piles: Our mates at Bremworth recommend that you can use a warm steam iron over a towel laid on top of the carpet. Hold the steam iron gently to the towel and use the steam button to inject steam but don’t press the iron down on the towel as this can leave gloss marks.
FOR HARD FLOORING INSTALLATIONS – you can further protect your floor by:
- Keeping your pets nails trimmed, remove your shoes and use felt floor protector pads.
- Managing moisture within your home (we’ve included some handy tips in this guide).
- Considering the use of curtains, blinds or UV resistant films on windows to reduce exposure to direct sunlight and protect your new flooring.
- Use entrance mats where advised, ensuring they don’t have rubber backing and won’t cause staining.
If you have installed floating floors,
do not
silicone around the perimeter or at any junctions
as this will void your warranty.
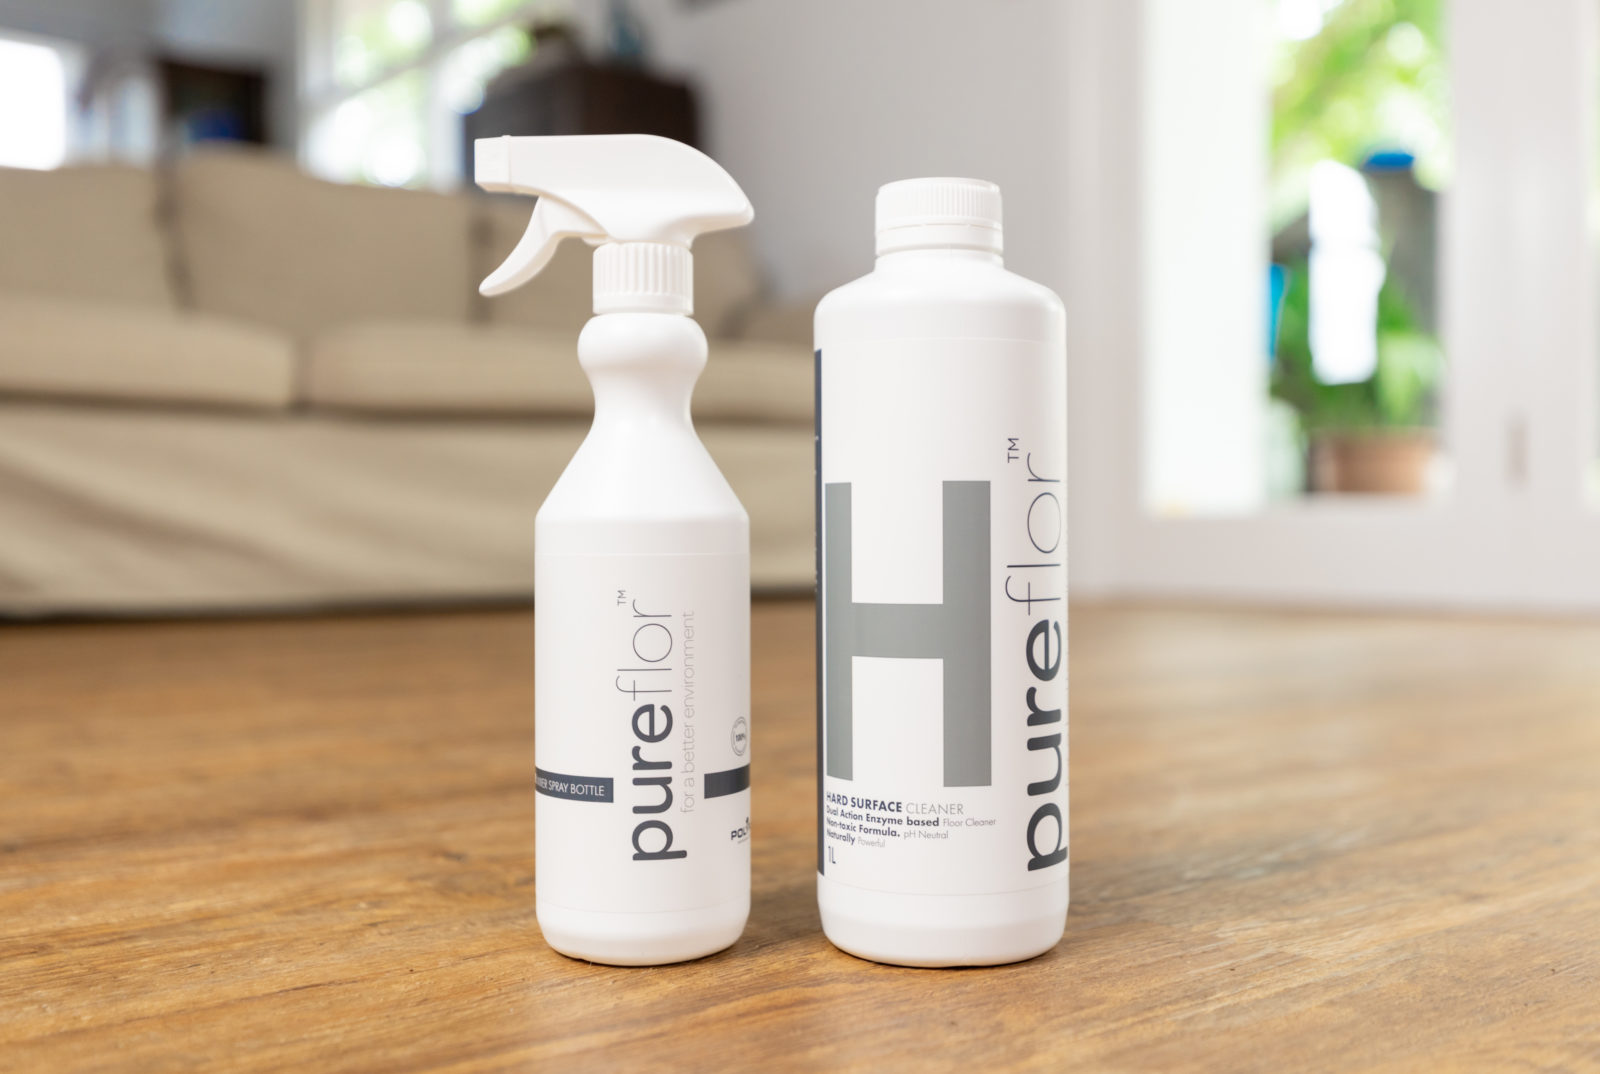
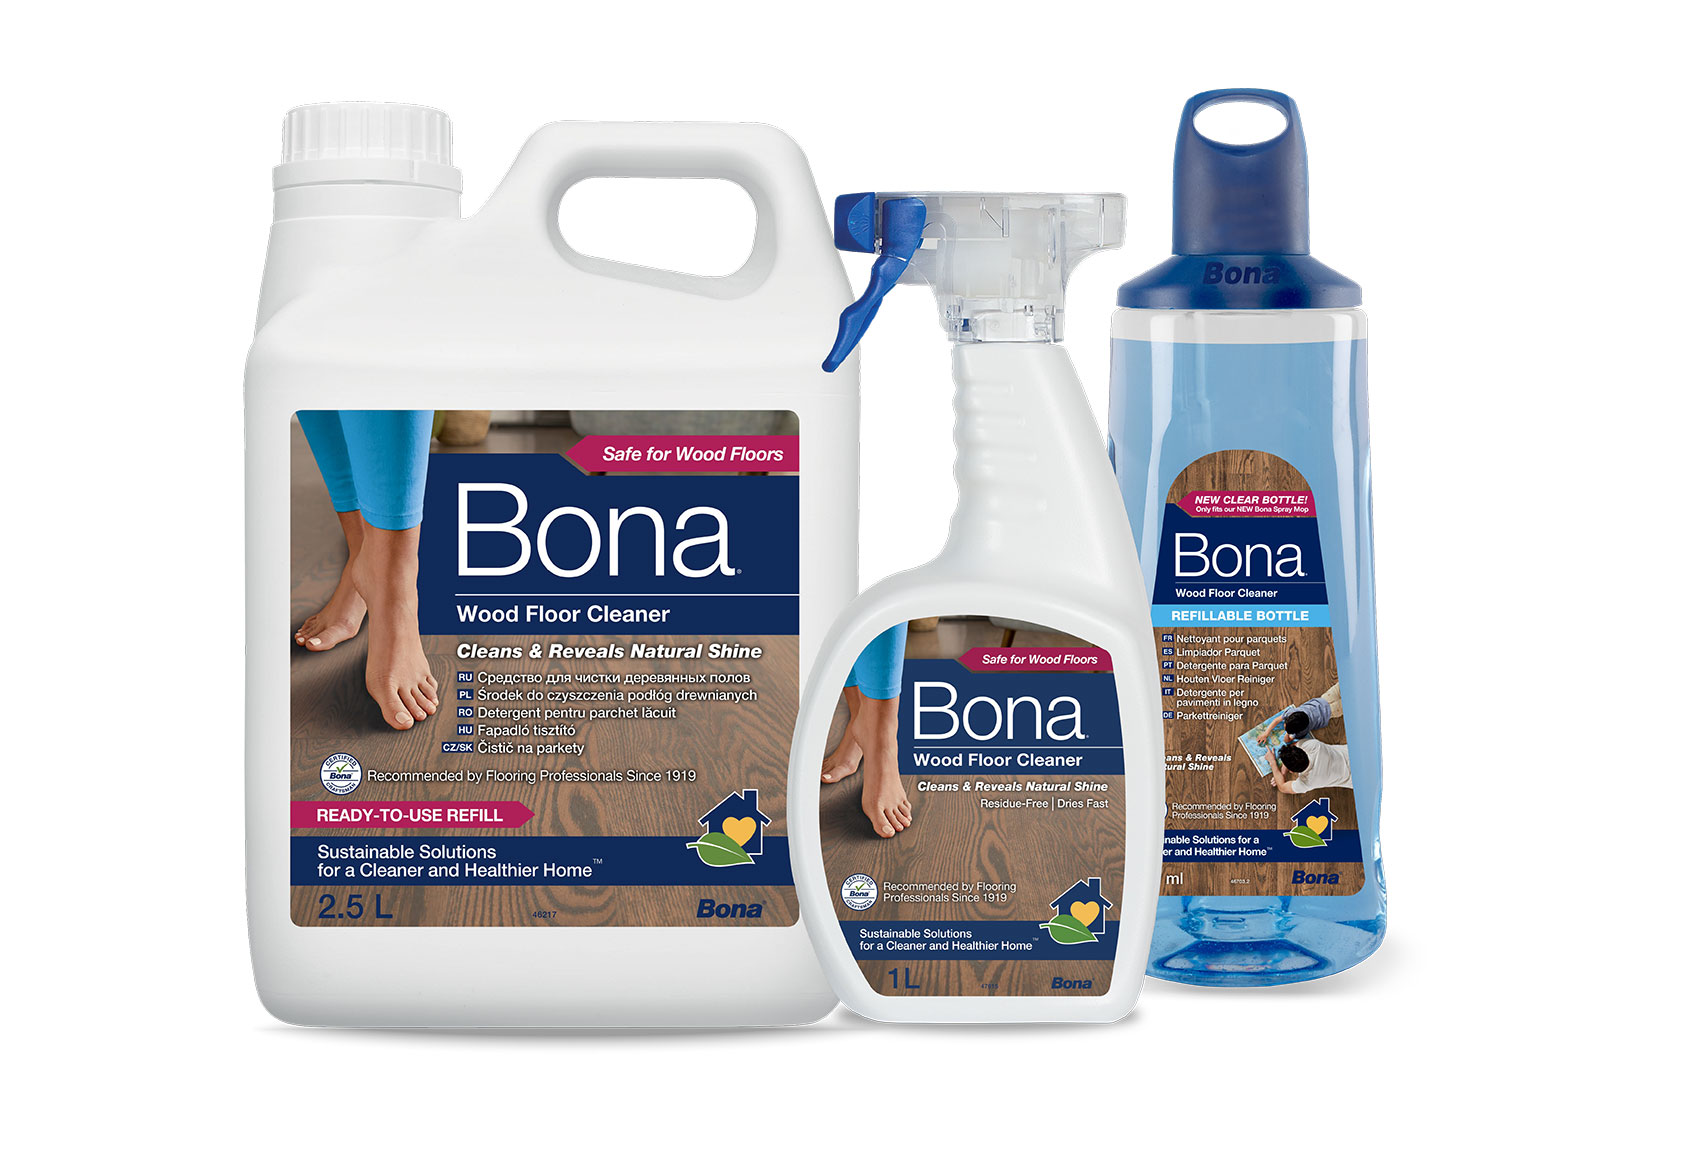
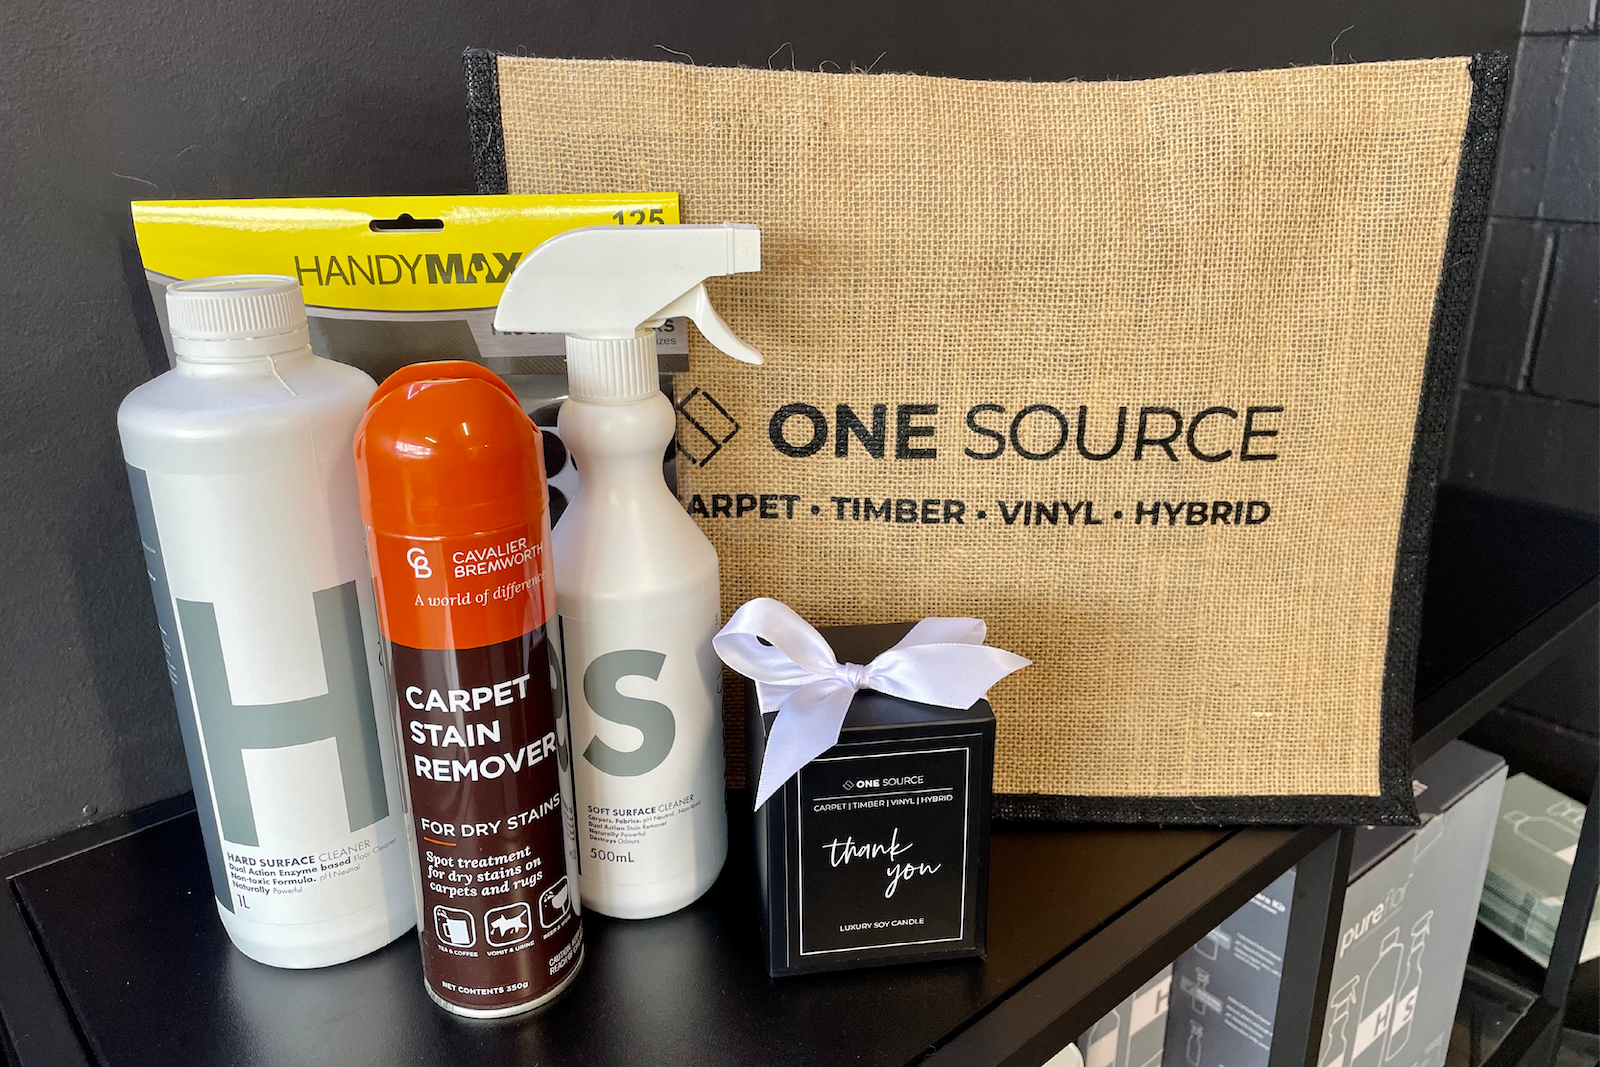
SOME OF OUR FAVOURITE CLEANERS - ALL STOCKED IN OUR SHOWROOM
If you’re looking for floor cleaners that are recommended by our suppliers and provide real bang for your buck, check out some of the ranges that we sell in our Showroom.
REDUCING MOISTURE IN YOUR PROPERTY
It’s no secret that many families and businesses across the Gold Coast experience issues within their homes from moisture and mould due to the rain and high humidity levels. Below we’ve provided our tips to reduce moisture levels within your home, pre- and post-installation as this can affect your new flooring.
- If moisture has been previously detected in your home, please let our Sales team or Installer know as soon as possible. For residential projects, once your existing floors have been removed, if there are any signs of moisture damage (mould, warped or rotten sub-floor, discoloration etc), our team can perform a surface moisture scan to determine if further testing is required prior to installation.
- Ensure you have adequate ventilation in your home
- Engage a plumber to; ensure there isn’t any external water or moisture going into your slab and that your home’s external drainage is adequate (gutters clear, downpipes damage-free, external holes/openings are sealed, garden beds not causing additional moisture near your slab, windows are sealed properly, weather strips below doors are installed). Also check your internal plumbing in all rooms and that your fridge/s are free from leaks.
- Use your air-conditioner to manage airflow and reduce humidity.
- Use moisture reducers in small spaces or invest in a dehumidifier if required.
- Dry your clothes outdoors, not inside.
- Make use of exhaust fans in your bathroom & kitchen.
- Make sure there aren’t any opportunities for leaks in new renovations or extensions.
- If you have identified any leaks and suspect there is serious damage, engage a qualified builder to inspect your space. Once any internal or external leaks are remedied, One Source Flooring can seal your slab and supply and install new flooring.
OUR FIVE YEAR INSTALLATION GUARANTEE
At One Source Flooring, we proudly offer eligible customers a 5 Year Installation Guarantee which applies only to the ‘installation’ of your new flooring. It provides our customers with peace of mind as your installation is guaranteed against faulty workmanship during the install process and for the five years following.
On top of this, following the proper care & maintenance instructions from our manufacturer’s, you are also protected by their guarantees and/or warranties. The manufacturer guarantees the ‘product’.
Depending on the manufacturer and product you have selected, you will have varying years of coverage on wear, defects, stain and soiling. This will usually be covered with our sales team, and is outlined in the guides sent to you by our team. Quick links to our manufacturer’s websites have been included at the bottom of this page.
HOW TO CLAIM ON YOUR PRODUCTS OR INSTALLATION
If you find fault with the flooring, please review our 5 Year Installation Guarantee, contact our Showroom and we will advise next steps. Where required, our team will visit your site, take photos and raise your concerns with our local representatives. Alternatively, your Care & Maintenance Guides should have detailed processes on how to make a claim on your flooring.
QUICK LINKS TO MANUFACTURER'S CARE & MAINTENANCE GUIDES
As part of our installation process, we provide all of our customers with Care & Maintenance Guides from our manufacturer’s. If you’re unable to find yours, we have included them below for your convenience. If you’re looking for additional information on your product and general care tips, follow the links below.
We have compiled the following Care & Maintenance Guides from our carpet suppliers below.
- Beaulieu – Carpet Care & Maintenance Guide
- Bremworth – Wool Carpet Care & Stain Guide
- EC Carpets – Downloads & Carpet Care Guide
- Feltex/Redbook – Carpet Care Guides
- Quest Carpets – Warranty & Care Guide
- Signature Floors – Care & Warranty Guide
- Tuftmaster – Care & Maintenance Guide
- Victoria Carpets – Carpet Care Guide
We have compiled the following Care & Maintenance Guides from our hybrid suppliers below.
- Australian Select Timbers – Technical Information Centre
- Frontier – Warranty Guide
- Heartridge – Brochures & Care & Maintenance
- HTT Flooring – Brochures
- Karndean – Floor Care Guide
- Preference Floors – Warranty, Care & Maintenance Guides
- Quick Step – Care Download Centre
- Riverhill – Warranty Downloads
- Signature Floors – Care & Warranty Guide
- Sunstar – Product & Warranty Guides
We have compiled the following Care & Maintenance Guides from our engineered timber, oak and hickory suppliers below.
- Australian Select Timbers – Technical Information Centre
- Complete Floors – Floor Care Guide & Downloads
- Preference Floors – Warranty, Care & Maintenance Guides
- Premium Floors – Timber Maintenance Guide
- Quick Step – Care Download Centre
- Riverhill – Warranty Downloads
- Sunstar – Product & Warranty Guides
- Wonderwood – Maintenance & Warranty
We have compiled the following Care & Maintenance Guides from our laminate flooring suppliers below.
- Preference Floors – Warranty, Care & Maintenance Guides
- Quick Step – Care Download Centre
- Australian Select Timbers – Care & Maintenance Guides
We have compiled the following Care & Maintenance Guides from our vinyl flooring suppliers below.
- Amtico – Care & Warranty.
- Belgotex – Products & Affiliated Downloads (including Warranty & Maintenance)
- Frontier – Warranty Guide
- Heartridge – Brochures & Care & Maintenance
- Karndean – Floor Care Guide
- Interface – Product Warranty
- Preference Floors – Warranty, Care & Maintenance Guides
- Signature Floors – Products & Affiliated Downloads (including Warranty & Maintenance)