Floor Preparation (or ‘Floor prep’) is the process of preparing your existing floor (or in some cases, new floors), ready for the installation of new carpet, vinyl, hybrid or engineered timber flooring. Knowing what finish is required on your subfloor is ultimately determined by the floor coverings that will cover the surface. Our expert sales team can help guide you make the right selection based on this information.
Take a look at the Floor Preparation services we offer our customers who take up both our both supply and installation services below.

Gold Coast Floor Preparation
Whether your project is for a home or commercial business, it is one of the most crucial aspects of the floor installation process as the base needs to be plane, structurally sound, clean and smooth. When working with One Source, having our expert team perform your floor preparation enables us to offer you a 5 Year Installation Guarantee and ensures that your manufacturer installation instructions are being followed too (which helps maintains your warranty/guarantees).
What Floor Preparation Services Do We Offer?
- Removal of Existing Carpet
- Removal of Timber Flooring (Floating and Glue Down)
- Removal of Vinyl Floors (Sheet and Plank)
- Removal of Tiles
- Removal of Adhesives & Surface Coatings
- Removal of Skirtings & Boards
As an installation only service provider, we also prepare of existing subfloor ready for your new flooring. These services include:
- Grind Existing Concrete Substrate
- Sand Existing Timber Substrate
- Prepare Existing Ceramic Tiles (when Structurally Sound) for Floor Coverings
- Perform Accurate RH (moisture readings) of Concrete and Timber Substrates to Determine if Moisture Curing is Required
- Application of Moisture Curing Systems when Required
- Apply Concrete Ramps to Entries and Transitions
- Apply Cementitious Levelling Compounds (Self Levelling Concrete) to Achieve Required Planness or Smoothness
- Disposal of all Wastage on Completion
Floor Preparation Process

On-Site Inspection
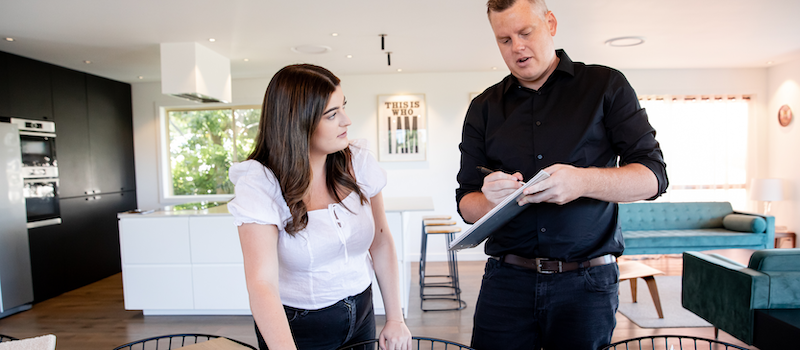
As part of the check measure stage (in-home or on-site measure) of our service, our sales team will inspect the substrate (when accessible) to determine what level of floor preparation is required. If your existing flooring is yet to be removed, any floor preparation requirements will not be able to be discussed at this time. Our installers will run through our ‘variation form’ with you once your flooring has been removed and your subfloor has been examined.

Floor Removal
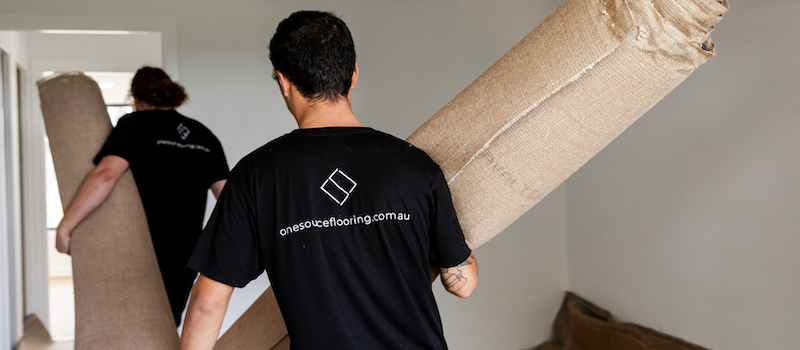
If you have decided to have our team remove your existing flooring, we will do so once your new flooring has been ordered and received (we don’t want you to have any big delays between your removal and installation). Whether you need assistance with carpet removal, tile removal, timber flooring removal, or more—our installers are ready to help and will even remove the materials from your project.

Moisture Testing
If you have experienced any moisture issues with your previous/existing flooring, we ask that you let our sales team or installers know.
For Commercial Projects - We will measure the relative humidity (RH) in the concrete with an in-situ test where we drill into the concrete and test over a 24 hour period.
For Residential Projects - Once your existing floors have been removed, if there are any signs of moisture damage (mould, warped or rotten subfloor, discoloration etc), we will perform a surface scan to determine if further testing is required.

Floor Preparation
From here, our team will undertake the recommended floor preparation requirements outlined in your variation.
This may include concrete grinding (performed with our floor grinders that are equipped with vacuum systems to minimise dust), the application of moisture barriers if required, spot patch repairing areas of the substrate or a cementitious levelling compound throughout the entire area—all in preparation for for your new flooring to be installed.
Gold Coast Floor Preparation FAQs
If you’d like to know more about Floor Preparation, why you should Moisture Test your flooring, and how you can save on Floor Preparation, check out our Frequently Asked Questions below.
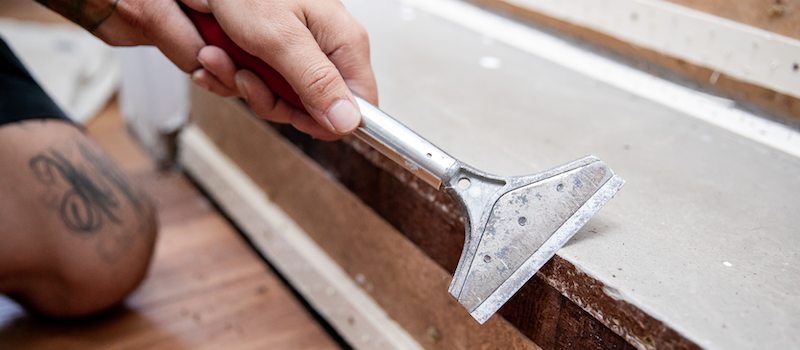
Yes! We can absolutely assist you with tile removal prior to your new floor installation. We used specialised equipment to ensure a safe environment during your tile removal. We can also remove or grind down any adhesives from under your tiles too.
Although the surface of your concrete may appear dry, high RH content may only become apparent with testing. When a slab is concealed by floor coverings, there is no way to visually check if there is moisture deeper within the slab. If moisture is present and rising, this can affect your new flooring.
For engineered timber flooring – this product is particularly vulnerable to moisture and any excess in moisture can lead to warping, lifting and discolouration.
For ‘glued-down’ products – moisture can affect the adhesives (if they don’t have the correct moisture tolerance), resulting in the adhesive becoming ineffective, mould growth underneath the plank and possibly, damaging the flooring.
For ‘floating flooring’ systems – these products are usually preferred where moisture levels are a concern (with the application of a moisture barrier). However, if excessive moisture is detected and a moisture barrier is not applied, the underlay/bottom layers of the product can become compromised and over time, the plank may become damaged.
For carpet – any rising damp/moisture can lead to mould entering your underlay and carpet itself.
The real risk is the moisture that can accumulate between the concrete slab and the actual flooring itself which is why moisture testing and/or moisture barriers are so important. For more information, visit this site.
Where recommended by our Installers, our team uses a variety of products to prep your flooring including self levelling concrete, smoothing compounds, levelling compounds, substrate primers and barrier coatings. No one likes an uneven surface, so using these products allows us to ‘ace your base’.
While we recommend only using professional flooring installers to prepare your subfloor for installation, there are other ways that you can save money on your floor prep and installation.
Remove Your Existing Flooring and Underlay
This is one of the easiest ways for you to save money on your floor preparation costs. While not everyone has the help (or muscle) to complete this, if you are removing carpet and underlay yourself, this is generally a pretty quick process. We suggest vacuuming your floors and opening any doors and windows to improve airflow. Tile removal, vinyl removal or glue removal is generally left to the pros as we have the right tools to do this quickly and safely.
DIY Furniture Removal
If you’re able, you can remove your furniture from rooms and clothing from wardrobes. Our installers can move your furniture for a fee, however, we suggest personal belongings should be removed prior to installation. Any hanging lights should also be removed or fixed higher, so as not to be damaged.
If you decide to take up our furniture removal service, we ask that you empty any cabinetry, drawers, bookshelves etc prior to the installers arriving. Large items like fish tanks, billiards tables etc will need to be removed by a removalist.
If required (or recommended by your installer), you may also need to remove any doors that may interfere with your installation.
You should also unplug and relocate any appliances such as your fridge, dishwasher, washing machine, ovens and alike. Where required, please use a qualified tradesperson as our installers are unable to do this for you.
While we acknowledge that there are ‘cheaper’ DIY flooring options available on the market, flooring preparation and installation isn’t something that any handyman can do themselves. We have seen firsthand the damaging and costly effects customers experience when choosing to DIY, or even engaging with builders (not flooring installers) to prepare and install their flooring. Check out a recent (builder) DIY disaster on our blog.

